
Cooking delicious meals at home can be a rewarding experience. Today, we will explore how to perfect your home dining with two beloved ingredients: Nongshim’s Shin Ramyun and Dongwon Canned Tuna. This combination creates a quick, tasty, and satisfying meal that’s perfect for busy days or a comforting dinner. By mastering this simple dish, you can enjoy a restaurant-quality meal from the comfort of your home.
Shin Ramyun, known for its spicy and savory flavor, is a staple in many households. Its rich broth and chewy noodles offer a delightful culinary experience. Adding Dongwon Canned Tuna elevates the dish, providing protein and a unique twist. This guide will help you create this delicious meal step-by-step.
Materials or Tools Needed
Before you begin, gather the following ingredients and tools:
Ingredients:
- 1 pack of Nongshim’s Shin Ramyun
- 1 can of Dongwon Canned Tuna (preferably in oil)
- 2 cups of water
- Optional: sliced green onions, a soft-boiled egg, sesame seeds, and kimchi for garnish
Tools:
- Medium-sized pot
- Frying pan
- Wooden spoon
- Bowl and chopsticks
Step-By-Step Guide
Step 1: Prepare the Ingredients
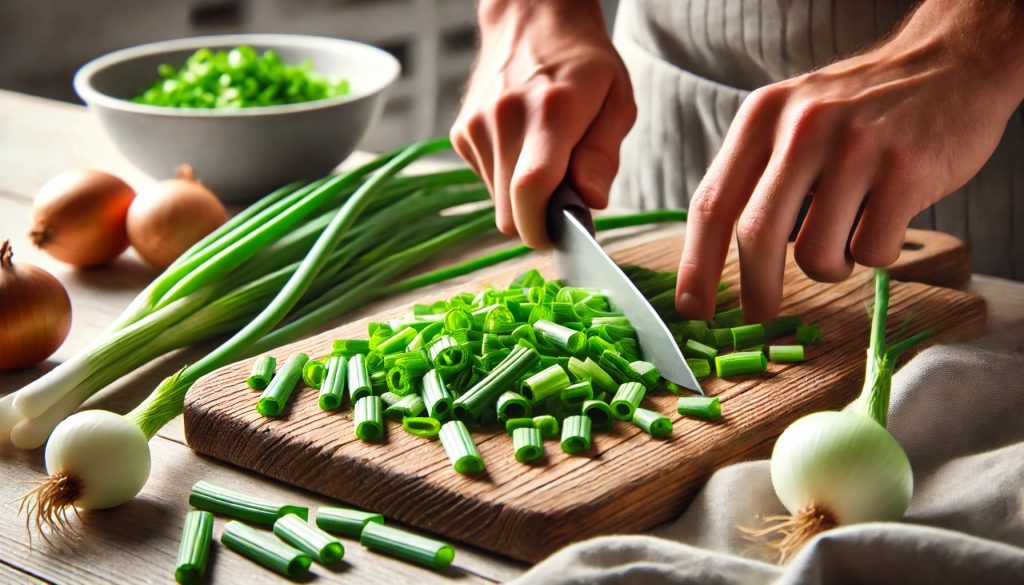
First, gather all your ingredients. Open the can of Dongwon Canned Tuna and drain the excess oil if desired. Slice any optional garnishes like green onions and prepare a soft-boiled egg if you wish to add one.
Step 2: Cook the Noodles
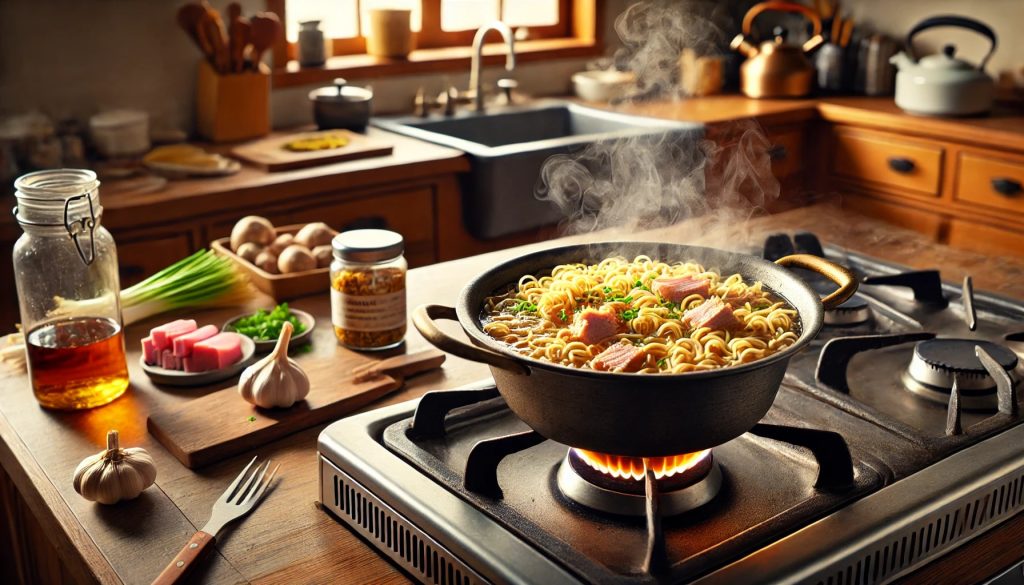
Next, bring 2 cups of water to a boil in a medium-sized pot. Once boiling, add the noodles from the Shin Ramyun pack. Cook for 4-5 minutes, stirring occasionally to prevent sticking. Add the soup base and vegetable mix from the Shin Ramyun packet.

Step 3: Sauté the Tuna
While the noodles cook, heat a frying pan over medium heat. Add the drained tuna and sauté for 2-3 minutes until it’s hot and slightly crispy. This step enhances the tuna’s flavor and texture, making it a delightful addition to the ramen.

Step 4: Combine and Simmer
Once the noodles are cooked, add the sautéed tuna to the pot. Stir well to combine all ingredients. Let the mixture simmer for an additional minute to blend the flavors.
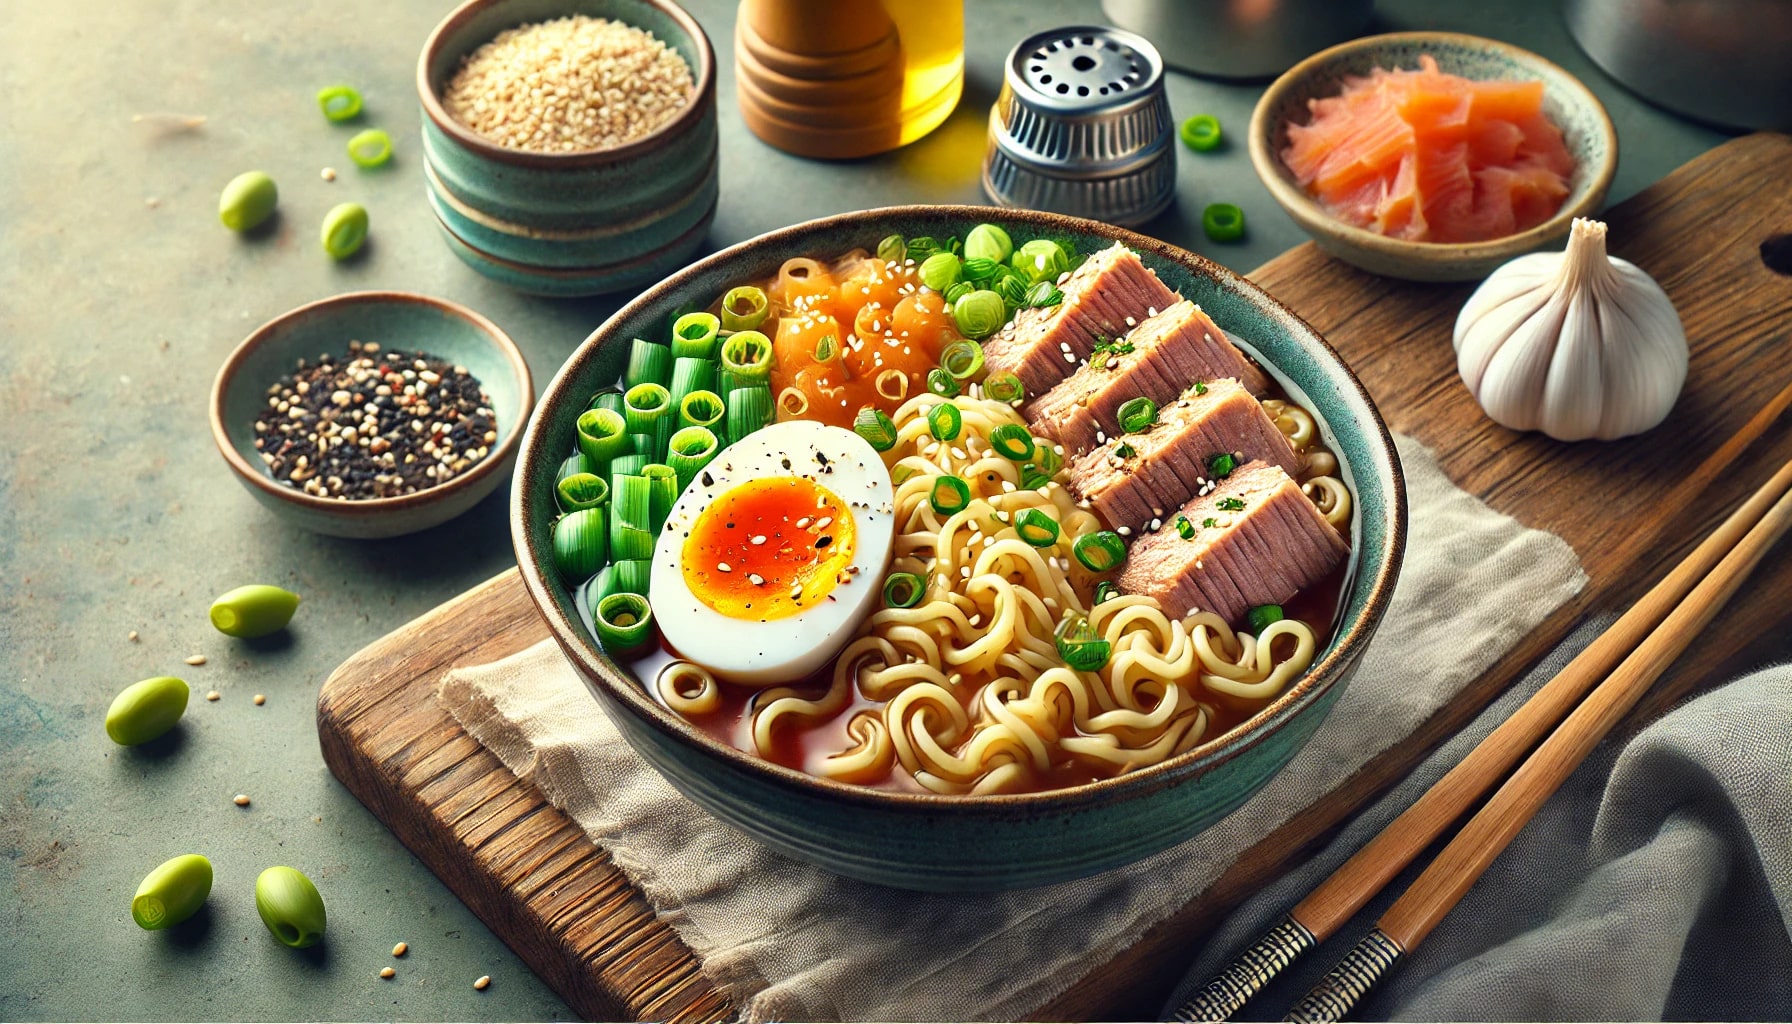
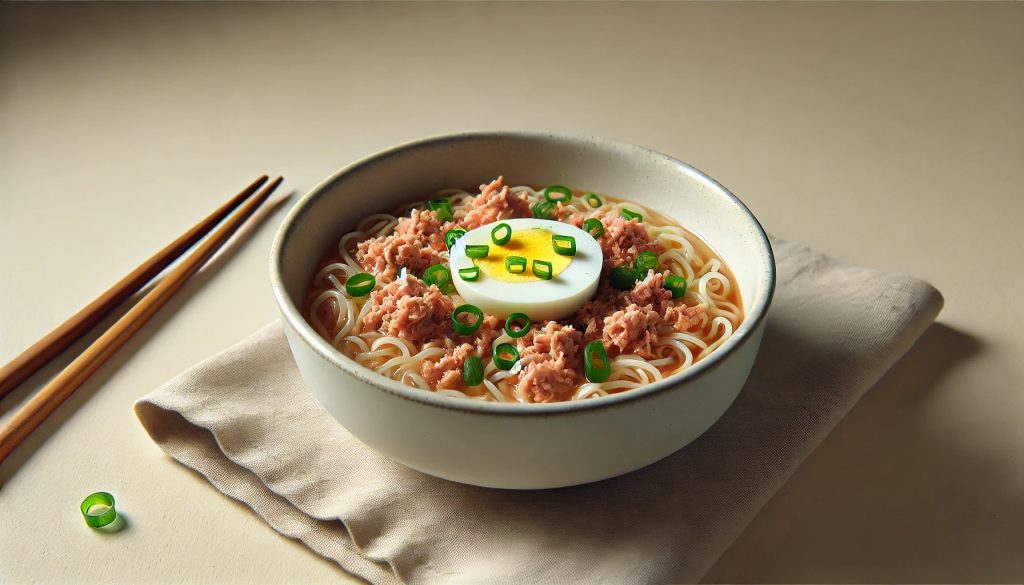
Step 5: Serve and Garnish
Finally, transfer the ramen to a bowl. Add your choice of garnishes such as sliced green onions, a soft-boiled egg, sesame seeds, and kimchi. These additions not only enhance the flavor but also add nutritional value to the meal.
Tips and Warnings
| Tips | Warnings |
|---|---|
| Adjust the spiciness by using less of the Shin Ramyun soup base if desired. | Be cautious when draining hot water from the noodles to avoid burns. |
| Experiment with different garnishes like tofu, mushrooms, or cheese. | Ensure the tuna is thoroughly heated to avoid any food safety issues. |
| Use tuna in oil for a richer flavor or tuna in water for a lighter option. |
Conclusion
By following these steps, you can create a delicious and satisfying meal using Shin Ramyun and Dongwon Canned Tuna. This dish is not only quick and easy but also offers a delightful combination of flavors and textures. Enjoy the rich, spicy broth and the savory tuna, all topped with your favorite garnishes. Perfect your home dining experience with this simple yet impressive recipe.
FAQ
Can I use different types of canned tuna?
Yes, you can use tuna in oil or water, depending on your preference. Tuna in oil offers a richer flavor, while tuna in water is lighter.
What other toppings can I add to this dish?
Feel free to add tofu, mushrooms, cheese, or even different vegetables like spinach or carrots to enhance the dish.
How can I reduce the spiciness of Shin Ramyun?
You can reduce the spiciness by using only half of the soup base packet or adding more water to dilute the broth.
Resources
- The Ramen Rater. The Ramen Rater.
- Nongshim. 농심 : 인생을 맛있게 (Lovely Life Lovely Food).
- Cookpad. Expert’s Guide: The Right Way To Make Shin Ramyun Recipe.
- Korean Recipe. How to Make Shin Ramyun (Korean Spicy Instant Noodles) Perfectly.
- EasyCleanCook. Mastering the Art of Cooking Shin Ramyun: The Ultimate Guide.