

Virtual reality (VR) technology has revolutionized the gaming and entertainment industry, offering immersive experiences that transport users to entirely new worlds. The Oculus Quest 2, a leading VR headset, is popular among both enthusiasts and professionals due to its wireless design and powerful performance. Setting up your Oculus Quest 2 correctly is crucial to ensure you enjoy the full capabilities of this impressive device. In this guide, we will walk you through the essential steps to set up, ensuring you can dive into your VR and mixed reality (MR) adventures with ease and confidence.
Materials or Tools Needed
Before we begin, ensure you have the following materials and tools ready:
| Materials/Tools | Purpose |
|---|---|
| Oculus Quest 2 | Main VR headset |
| Controllers | Navigate and interact within VR |
| Wi-Fi connection | Download necessary updates and apps |
| Mobile device | Install the Oculus app for initial setup |
| Charging cable | Keep your Oculus Quest 2 powered |
| Comfortable space | Safe area for VR activities |
Having these items prepared will streamline the setup process and help you avoid unnecessary interruptions.
Step-by-Step Instructions
Step 1: Unbox Your Oculus Quest 2
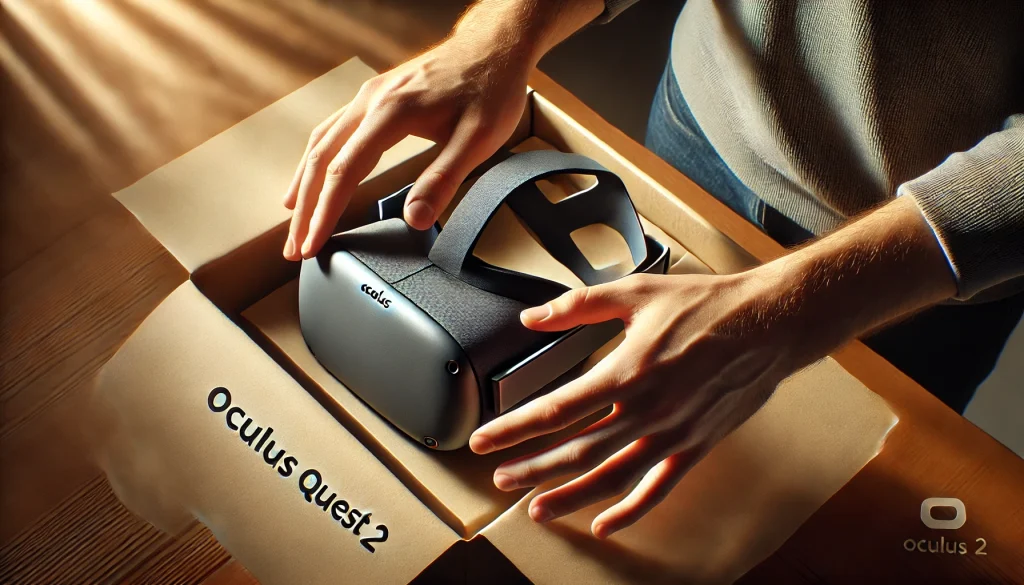
Begin by unboxing your Oculus Quest 2. Carefully remove all components, including the headset, controllers, charging cable, and any additional accessories. Make sure to read any included manuals or quick start guides for specific instructions from the manufacturer. Taking the time to familiarize yourself with the components ensures you don’t miss any crucial items or steps during the setup.
Step 2: Charge the Headset
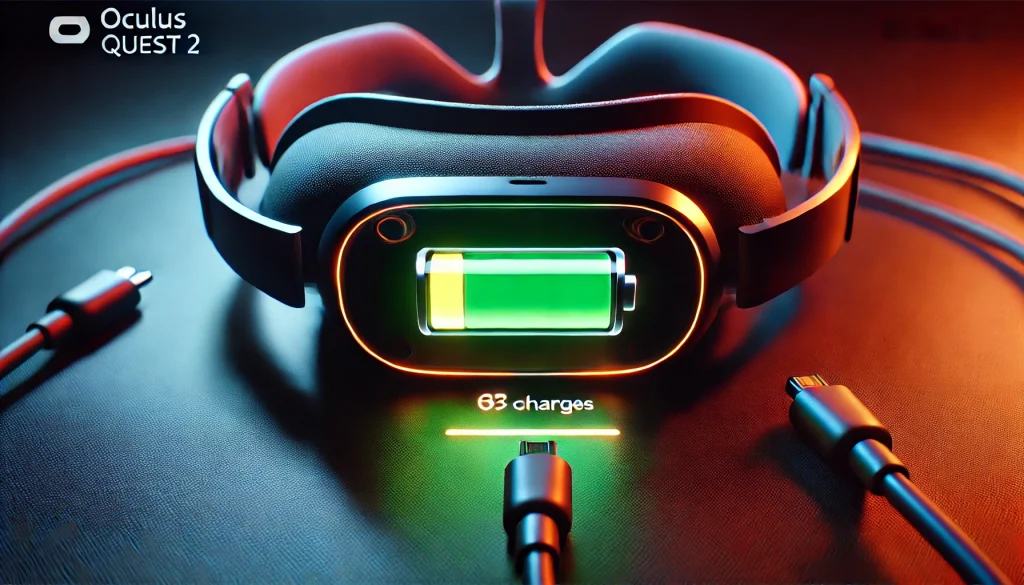
Before proceeding, charge it using the included charging cable. Connect the cable to a power source and plug it into the headset. Allow it to charge until the battery is fully powered. This step ensures you have sufficient battery life for the setup process and initial use. A fully charged headset prevents interruptions and allows for an uninterrupted initial experience.
Step 3: Install the Oculus App on Your Mobile Device
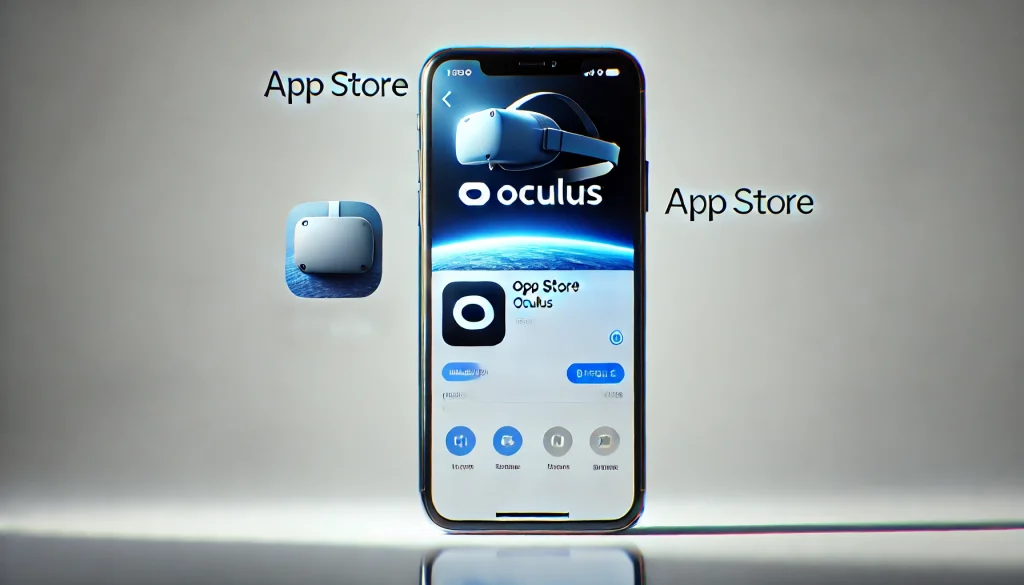
To set up your Oculus Quest 2, you’ll need the Oculus app installed on your mobile device. Download and install the app from your device’s app store (available for both iOS and Android). Once installed, open the app and follow the on-screen instructions to create or log in to your Oculus account. This app is essential for initial setup and future device management.
Step 4: Connect to Wi-Fi
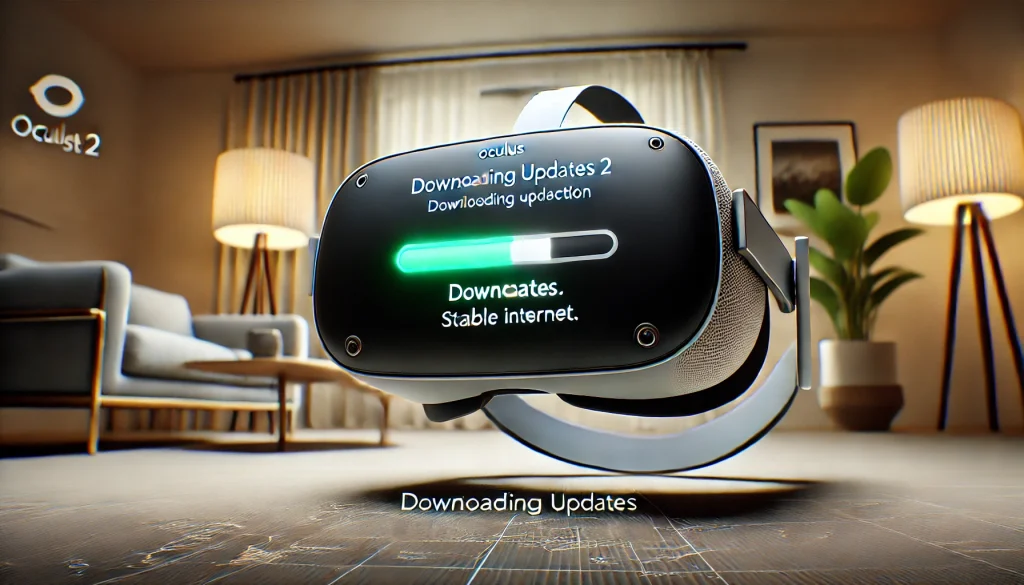
Power on it by holding down the power button. Put on the headset and follow the prompts to select your language and connect to a Wi-Fi network. Ensure a stable internet connection to download any necessary updates and software. This connection is vital for accessing the latest features and ensuring your device operates smoothly.
Step 5: Pair Your Controllers

It comes with two controllers that need to be paired with the headset. Follow the on-screen instructions in the headset to pair the controllers. Typically, this involves pressing specific buttons on the controllers until they are recognized by the device. Properly paired controllers are crucial for navigating and interacting within VR.
Step 6: Adjust Fit and Comfort

Properly adjust the headset for a comfortable fit. Use the straps to secure the headset on your head, ensuring it sits snugly without causing discomfort. Adjust the lens spacing to match your eyes for a clear and immersive visual experience. Taking the time to adjust the fit can significantly enhance your VR experience, reducing discomfort during extended use.
Step 7: Set Up Guardian

The Guardian system in Oculus Quest 2 helps you define your play area and avoid obstacles. Follow the prompts to set up the Guardian boundary. This involves using the controllers to draw a safe play area within your physical space. The system will alert you if you approach the boundaries while in VR. Setting up the Guardian system prevents accidents and keeps your VR space safe.
Step 8: Complete Initial Setup
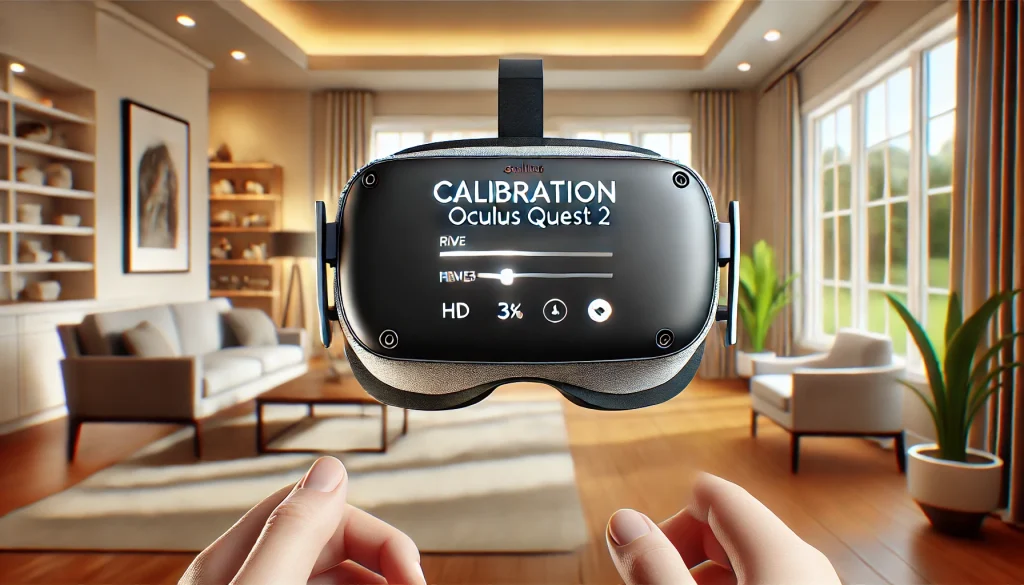
Once the Guardian is set up, follow any additional on-screen instructions to complete the initial setup. This may include downloading updates, calibrating the device, and exploring the tutorial experiences provided by Oculus. Completing these steps ensures your device is up-to-date and functioning correctly.
Step 9: Explore the Oculus Home

After setup, you’ll be taken to the Oculus Home environment. Here, you can access various VR applications, games, and settings. Take some time to familiarize yourself with the interface and explore the available content. Understanding the Oculus Home interface helps you navigate and make the most of your VR experience.
Step 10: Download Your First VR Experience

Now that your Oculus Quest 2 is set up, it’s time to download and enjoy your first VR experience. Browse the Oculus Store for popular apps and games. Select and install your chosen application, and immerse yourself in the world of virtual reality. Starting with popular and well-reviewed apps can provide a more enjoyable introduction to VR.
Tips and Warnings to Avoid
Dos’s
- Ensure Ample Space: Make sure you have enough space to move around safely while using it. Clear any obstacles and keep pets or other people away from the play area. A clear play area enhances safety and enjoyment.
- Use Wrist Straps: Always use the wrist straps attached to the controllers to prevent accidental drops or throws during intense VR sessions. Wrist straps help protect your equipment and surroundings.
- Regular Breaks: VR can be immersive and time-consuming. Take regular breaks to avoid eye strain and fatigue. Short breaks help maintain comfort and health during prolonged VR use.
- Clean the Lenses: Use a microfiber cloth to clean the lenses of your Oculus Quest 2 regularly. Dust and smudges can affect the visual experience, so keeping the lenses clean is essential.
- Adjust Lighting: Use it in a well-lit area to improve tracking accuracy. Low light conditions can interfere with the device’s sensors and affect performance.
Dont’s
- Avoid Sunlight: Keep your Oculus Quest 2 away from direct sunlight, especially the lenses. Exposure to sunlight can damage the lenses and affect the display quality. Always store your headset in a safe, shaded place when not in use.
- Supervision for Children: If children are using the Oculus Quest 2, supervise them to ensure they use it safely and avoid prolonged usage. Monitor their usage time and make sure they take regular breaks.
- Monitor Battery Levels: Keep an eye on the battery levels of both the headset and controllers. Charge them regularly to prevent interruptions during use. Using a fully charged device ensures a smoother VR experience.
Conclusion
Setting up your Oculus Quest 2 is a straightforward process that can be completed in just a few steps. By following this guide, you can ensure a seamless and enjoyable experience as you embark on your virtual reality adventures. Take the time to familiarize yourself with the device, explore the available content, and enjoy the immersive worlds that await you. With properly set up, you’re ready to explore the limitless possibilities of virtual reality.
FAQ
How do I reset my Oculus Quest 2 to factory settings?
To reset your Oculus Quest 2 to factory settings, go to the Settings menu in the Oculus app on your mobile device. Select the device you want to reset, then choose ‘Factory Reset’ and follow the prompts. This will erase all data and restore the headset to its original state. Make sure to back up any important data before performing a factory reset.
Can I use the Oculus Quest 2 without a Facebook account?
As of now, a Facebook account is required to use the Oculus Quest 2. This allows you to access the Oculus platform, download apps, and connect with friends. However, Oculus has announced plans to support other login options in the future. Keep an eye on updates from Oculus for any changes to this requirement.
What should I do if my Oculus Quest 2 controllers are not working?
If your Oculus Quest 2 controllers are not working, try the following troubleshooting steps: ensure the controllers have fresh batteries, restart the headset, and re-pair the controllers through the device settings. If the issue persists, contact Oculus Support for further assistance. They can provide more detailed troubleshooting steps and support.
Resources
- ZyberVR. How to set up Oculus Quest 2: Step-by-step beginner guide 2022.
- Lifewire. Set up Meta Oculus Quest 2.
- Coolblue. How to set up the Oculus Quest 2.
- Screenrant. How to setup new Meta Quest 2.
- Medium. Setting up the Meta Quest 2 for Unity development.