
Virtual reality (VR) technology has revolutionized the way we interact with digital content, offering immersive experiences that can transport us to new worlds. Using VR glasses effectively is crucial for maximizing the benefits of this technology, whether you’re a fan of gaming, education, or industry professionals looking to integrate VR into their work. This guide provides comprehensive, step-by-step instructions to help you get the most out of your VR glasses, ensuring a seamless and enjoyable experience.
Materials or Tools Needed
Before diving into the step-by-step instructions, make sure you have the following materials and tools ready:
| Material/Tool | Description |
|---|---|
| VR Glasses/Headset | The primary device for experiencing virtual reality. |
| Smartphone/PC | Device to run VR applications and connect to the headset. |
| VR Apps/Games | Software that provides VR content. |
| Comfortable Space | An area free of obstacles to move around safely. |
| Internet Connection | Required for downloading and updating VR content. |
Step-by-Step Instructions
Step 1: Setting Up Your VR Glasses
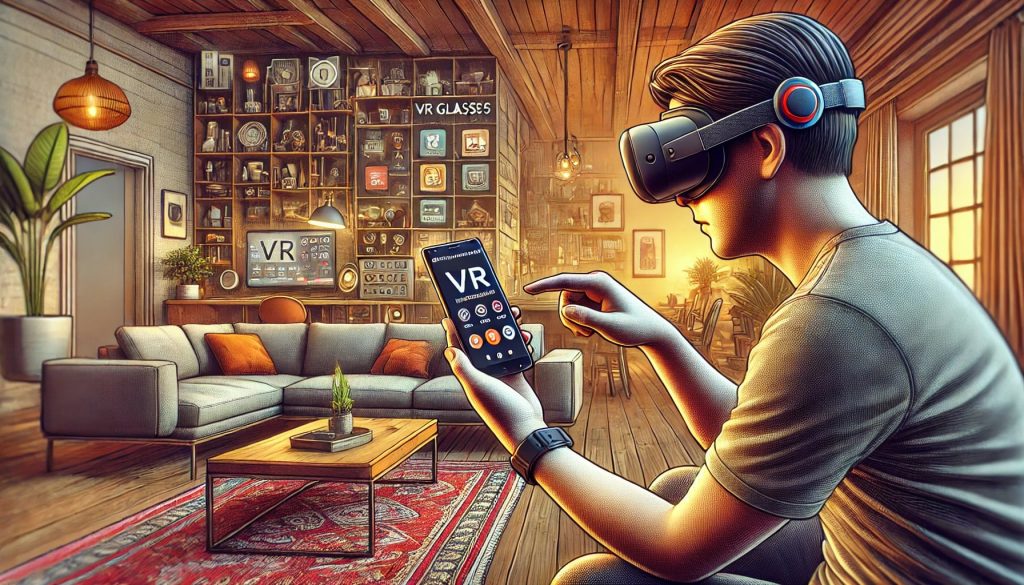
First, ensure your VR glasses are compatible with your device. If you’re using a smartphone-based VR headset, download the necessary VR apps from your app store. For PC-based headsets, install the required software and drivers. Ensure your device meets the minimum specifications required to run VR applications effectively. This step is crucial because different VR headsets may have varied compatibility requirements, and failing to meet them can result in a subpar VR experience.
Step 2: Connecting Your Device
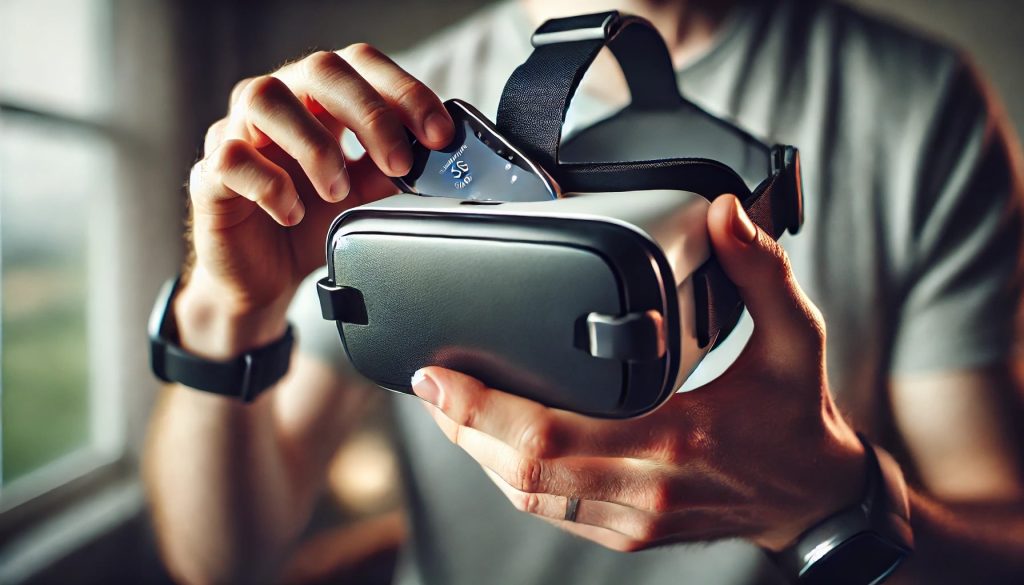
Connect your smartphone or PC to the VR headset. For smartphones, insert the device into the headset’s holder, ensuring it is securely fastened. For PC headsets, connect via USB or HDMI cables and ensure the software recognizes the connection. It’s essential to use the appropriate cables and ports recommended by the VR headset manufacturer to avoid connectivity issues. Additionally, make sure the connections are tight and stable to prevent any interruptions during your VR sessions.
Step 3: Adjusting the Fit
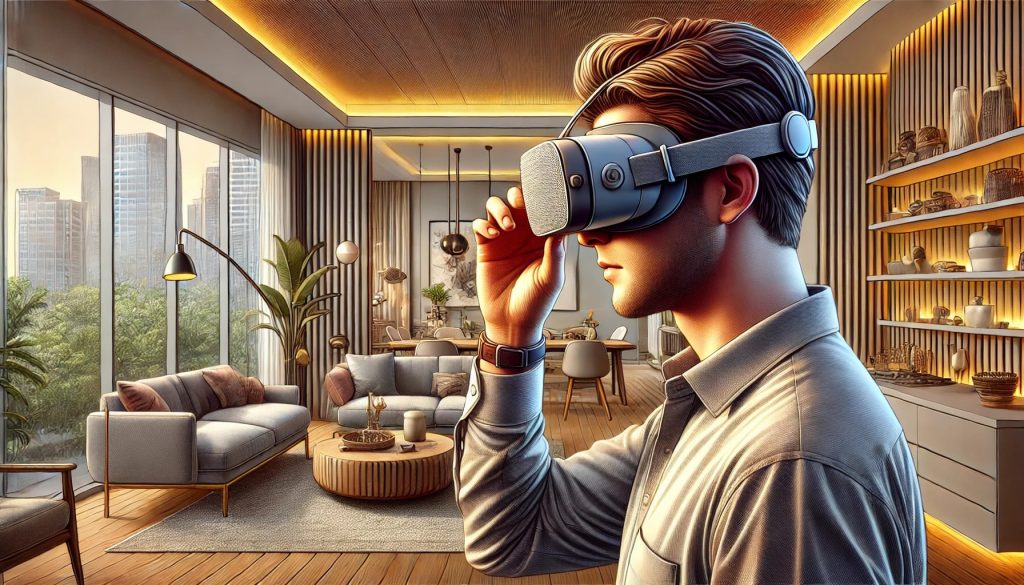
Adjust the straps on the VR glasses to fit comfortably on your head. The headset should sit securely but not too tight. Adjust the lenses for clarity, ensuring a sharp image without straining your eyes. Many VR headsets come with adjustable interpupillary distance (IPD) settings, which allow you to match the distance between the lenses to the distance between your eyes. This customization helps in achieving the clearest and most comfortable view possible. Spend some time adjusting these settings, as an improperly fitted headset can cause discomfort and eye strain.
Step 4: Calibrating the VR Headset

Calibrate the VR headset by following the on-screen instructions. This typically involves adjusting the lens spacing and setting up the room scale if applicable. Proper calibration ensures accurate tracking and a better overall experience. Room-scale calibration is particularly important for PC-based VR systems, as it maps out the physical space within which you can move. During calibration, ensure your play area is free of obstacles and has adequate lighting. This will enhance the tracking accuracy and prevent potential accidents.
Step 5: Launching VR Content
Open the VR app or game on your device. Follow any initial setup instructions within the app. For smartphone-based VR, align the screen with the headset’s lenses. For PC VR, ensure the software is running smoothly and recognize the headset. Some VR applications may require additional configuration settings, such as adjusting the field of view (FOV) or graphics quality. Take the time to explore these settings, as optimizing them can significantly enhance your VR experience.
Step 6: Navigating the VR Interface

Use the provided controller or the headset’s built-in controls to navigate through the VR interface. Familiarize yourself with the basic controls for selecting apps, games, and adjusting settings. Modern VR systems often come with motion controllers that offer intuitive control through hand movements and gestures. Spend some time practicing with these controllers, as mastering them can greatly improve your interaction with VR environments.
Step 7: Enjoying the VR Experience

Immerse yourself in the VR content. Whether you’re exploring virtual worlds, watching 360-degree videos, or playing interactive games, take your time to enjoy the full experience. VR offers a unique level of immersion that traditional screens cannot match. As you become more comfortable with the technology, try exploring different types of VR content. This could include educational experiences, virtual tours, or even VR social platforms where you can interact with other users in virtual spaces.
Step 8: Exiting VR Mode

To exit, follow the specific steps for your headset. For smartphones, simply remove the device from the headset. For PC-based headsets, close the VR application and safely disconnect the headset from the computer. It’s important to exit VR mode properly to ensure the longevity of your device. Abrupt disconnections or forceful removal can damage the headset or the device it’s connected to. Always follow the recommended shutdown procedures provided by the manufacturer.
Tips and Warnings to Avoid
Do’s
To ensure a smooth VR experience, keep these tips in mind:
- Take Regular Breaks: Avoid prolonged use to prevent eye strain and discomfort. The intense visual and sensory stimulation from VR can be tiring, so it’s essential to take breaks every 20-30 minutes to rest your eyes and prevent fatigue.
- Clear Your Space: Ensure your play area is free from obstacles to avoid accidents. VR headsets can obscure your view of the physical world, making it easy to trip over furniture or other items.
- Stay Seated for Intense Experiences: If you’re new to VR or experiencing intense content, it’s best to stay seated to prevent falls. Some VR experiences can be overwhelming or cause dizziness, so staying seated helps maintain balance.
- Adjust Settings for Comfort: Use the settings menu to adjust the VR environment, including brightness, sound, and comfort settings. Personalizing these settings can enhance your overall experience and reduce discomfort.
Don’ts
- Ignoring Calibration: Skipping calibration can result in poor tracking and a less immersive experience.
- Overtightening the Headset: This can cause discomfort and headaches. Ensure a snug but comfortable fit.
- Using a Low Battery: Ensure your device and headset are fully charged to avoid interruptions.
Conclusion
Using VR glasses effectively involves proper setup, calibration, and familiarization with controls. By following these steps, you can ensure a comfortable and immersive VR experience. Dive into the virtual world and explore the endless possibilities that VR technology offers. Remember, the key to a great VR experience is in the details—proper setup, calibration, and taking the time to familiarize yourself with the controls and settings.
FAQ
What are the basic steps to set up VR glasses?
To set up VR glasses, you need to connect your device, adjust the fit, calibrate the headset, and launch VR content. Make sure to follow the detailed instructions for your specific headset model.
How can I avoid motion sickness while using VR glasses?
To avoid motion sickness, start with shorter VR sessions and gradually increase the time. Ensure proper calibration and take regular breaks. Adjust the settings for a comfortable viewing experience.
What are the common mistakes to avoid when using VR glasses?
Common mistakes include ignoring calibration, overtightening the headset, and using a low battery. Proper setup and adjustments are essential for a comfortable and immersive VR experience.
Resources
- WikiHow. How to Use VR Glasses.
- Virtual Reality Network. How to Use VR Glasses.
- Reliance Digital. How to Experience VR on Your Smartphone.