
A Web3 Wallet is a digital tool that gives users full control over their assets and identity in decentralized networks. Unlike traditional accounts, it allows direct interaction with applications without relying on centralized platforms. This makes it essential for anyone exploring modern digital finance and ownership.
By using a Web3 Wallet, you can store tokens, sign transactions, and access decentralized services safely. It also plays a key role in protecting your funds because only you hold the private keys. As decentralized technology grows, understanding how wallets work becomes more important. They act as your gateway to open financial systems and user-owned data.
This guide explains what you need, how to set one up, and how to avoid common mistakes. By following each step carefully, you can start using decentralized applications with confidence and clarity.
Alt text (Introduction): User opening Web3 wallet application on mobile device
Tools Needed for web3 wallet
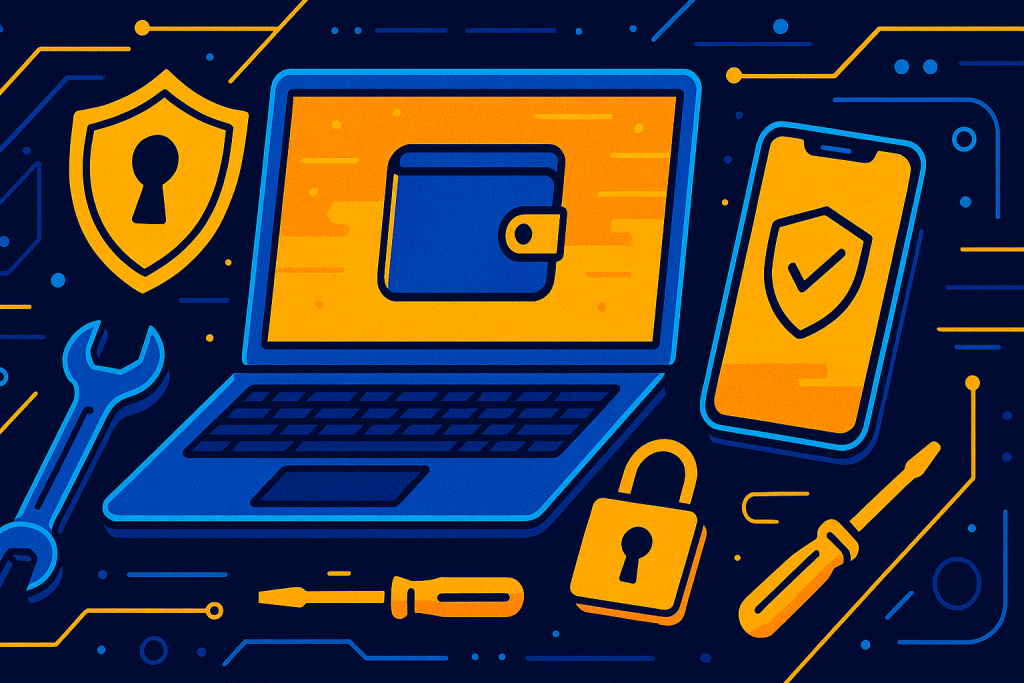
To begin using a Web3 Wallet, you need a reliable device. A modern smartphone, tablet, or desktop computer works well, as long as it runs an updated operating system. Updated software helps reduce security risks and improves compatibility with wallet applications.
Next, choose a trusted wallet app or browser extension. These tools create your wallet address, manage private keys locally, and let you interact with decentralized platforms. Always download the wallet from its official website or a verified app store listing. This reduces the risk of installing malicious software.
You also need a secure internet connection. Avoid public Wi-Fi when setting up your wallet or signing transactions. A stable private connection lowers the chance of data interception. In addition, prepare an offline method to store your recovery phrase, such as writing it on paper and keeping it in a safe place.
Quick setup notes include checking browser compatibility if you use a desktop wallet and ensuring enough storage space on mobile devices. You may also want a small balance to cover basic transaction fees when testing your setup
Step-by-Step Instructions for web3 wallet
Step 1: Choose a Web3 Wallet
Start by selecting a wallet that supports the networks you plan to use. Some wallets focus on mobile use, while others work better as browser extensions. Reading official documentation helps you understand supported features and security options.
Step 2: Install the wallet
Download the wallet only from trusted sources. After installation, open the app or extension and review the permissions it requests. This step matters because fake apps often ask for unnecessary access.
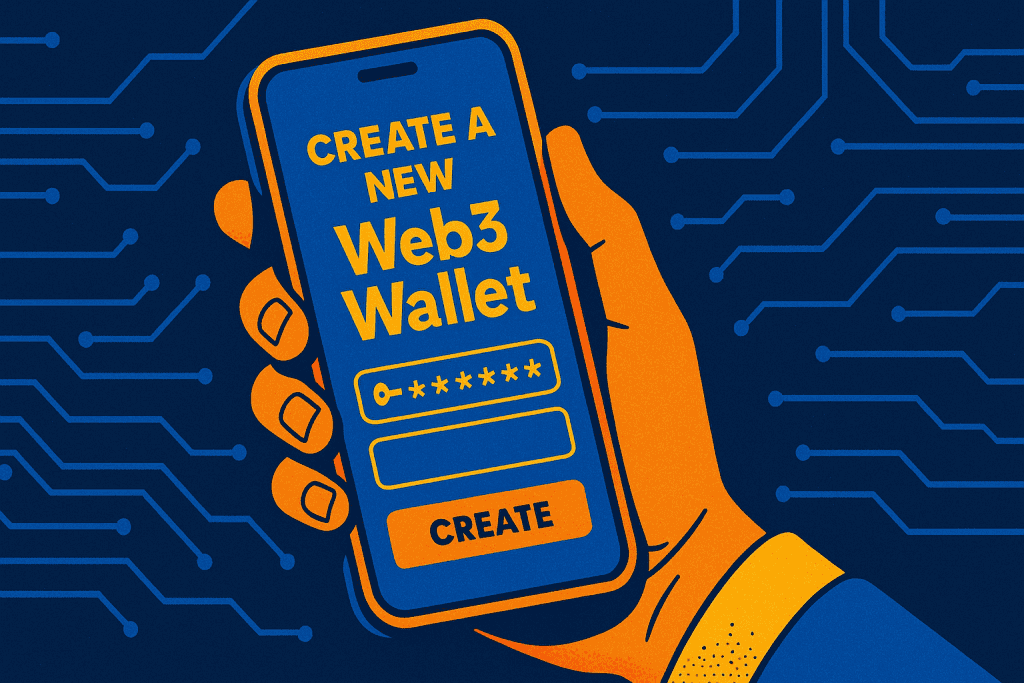
Step 3: Create a new wallet
Select the option to create a new wallet and set a strong password. The wallet then shows a recovery phrase made of random words. Write it down clearly and store it offline. This phrase is the only way to recover access if your device fails.
Step 4: Confirm and secure the recovery phrase
Most wallets require confirmation by re-entering selected words. Complete this carefully and double-check your written copy. You can store a second copy in another secure location for added protection.
Step 5: Add funds to the wallet
Transfer a small amount of funds from another account or supported provider. Starting small lets you understand fees and confirmation times before committing larger values. This step prepares you for real usage, including Trading activities.
Step 6: Connect to decentralized applications
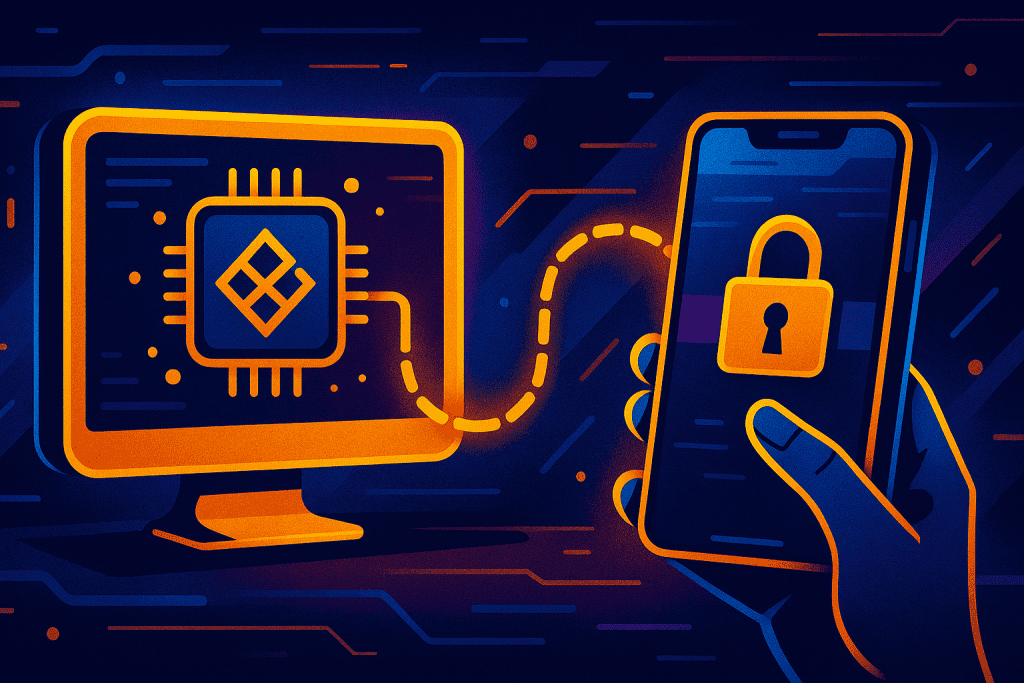
Visit a trusted decentralized app and select “Connect Wallet.” Approve the request inside your wallet. Once connected, you can interact with services built on Blockchain technology and manage your Cryptocurrency directly through your Crypto wallet.
Tips and Warnings about Web3 Wallet
| Tips for Success | Common Mistakes to Avoid |
|---|---|
| Use secure and updated devices | Storing recovery phrase online |
| Verify website URLs before connecting | Trusting messages asking for private keys |
| Start with small transactions | Signing unclear transactions |
| Review app permissions regularly | Ignoring wallet updates |
| Use hardware wallets if possible | Using one device for everything |
Conclusion
A Web3 Wallet gives you direct access to decentralized systems while keeping you in control of your assets. This guide showed how to prepare, set up, and use a wallet safely. Each step helps reduce risk and builds confidence as you explore decentralized tools.
By understanding how wallets work, you can manage assets securely and interact with new platforms responsibly. As the ecosystem grows, good habits like secure backups and careful approvals become even more valuable.
Now is the right time to put this knowledge into action. Set up your wallet, start small, and explore trusted applications. For more clear guides and updates, visit the koreafiz page and continue learning.
FAQ
What is a Web3 Wallet used for?
A Web3 Wallet is used to store, send, and receive cryptocurrency. It also allows you to connect with decentralized applications (dApps) like NFT marketplaces, DeFi platforms, and decentralized exchanges.
Is a Web3 Wallet safe for beginners?
Yes, Web3 Wallets are safe for beginners if set up properly. Always secure your recovery phrase offline, create strong passwords, and start with small amounts of digital currency to reduce risk.
Can I use one Web3 Wallet across multiple devices?
Yes, you can access the same Web3 Wallet across multiple devices by importing it with your recovery phrase. However, always use secure devices and avoid storing your recovery phrase online.
Resources
- Crypto.com. What Are Web3 Wallets and How to Get One
- Hashed Out. Becoming Web3 Native Pt. 1: How to Use Web3 Wallets
- Tely AI. Web 3 Wallets: A Comprehensive Guide to Setup and Security
- ICOBench. Web3 Wallets Directory
- Veles Finance. Web 3 Wallet: Everything You Need to Know